Table of Contents
- Why Self-Host Supabase on AWS?
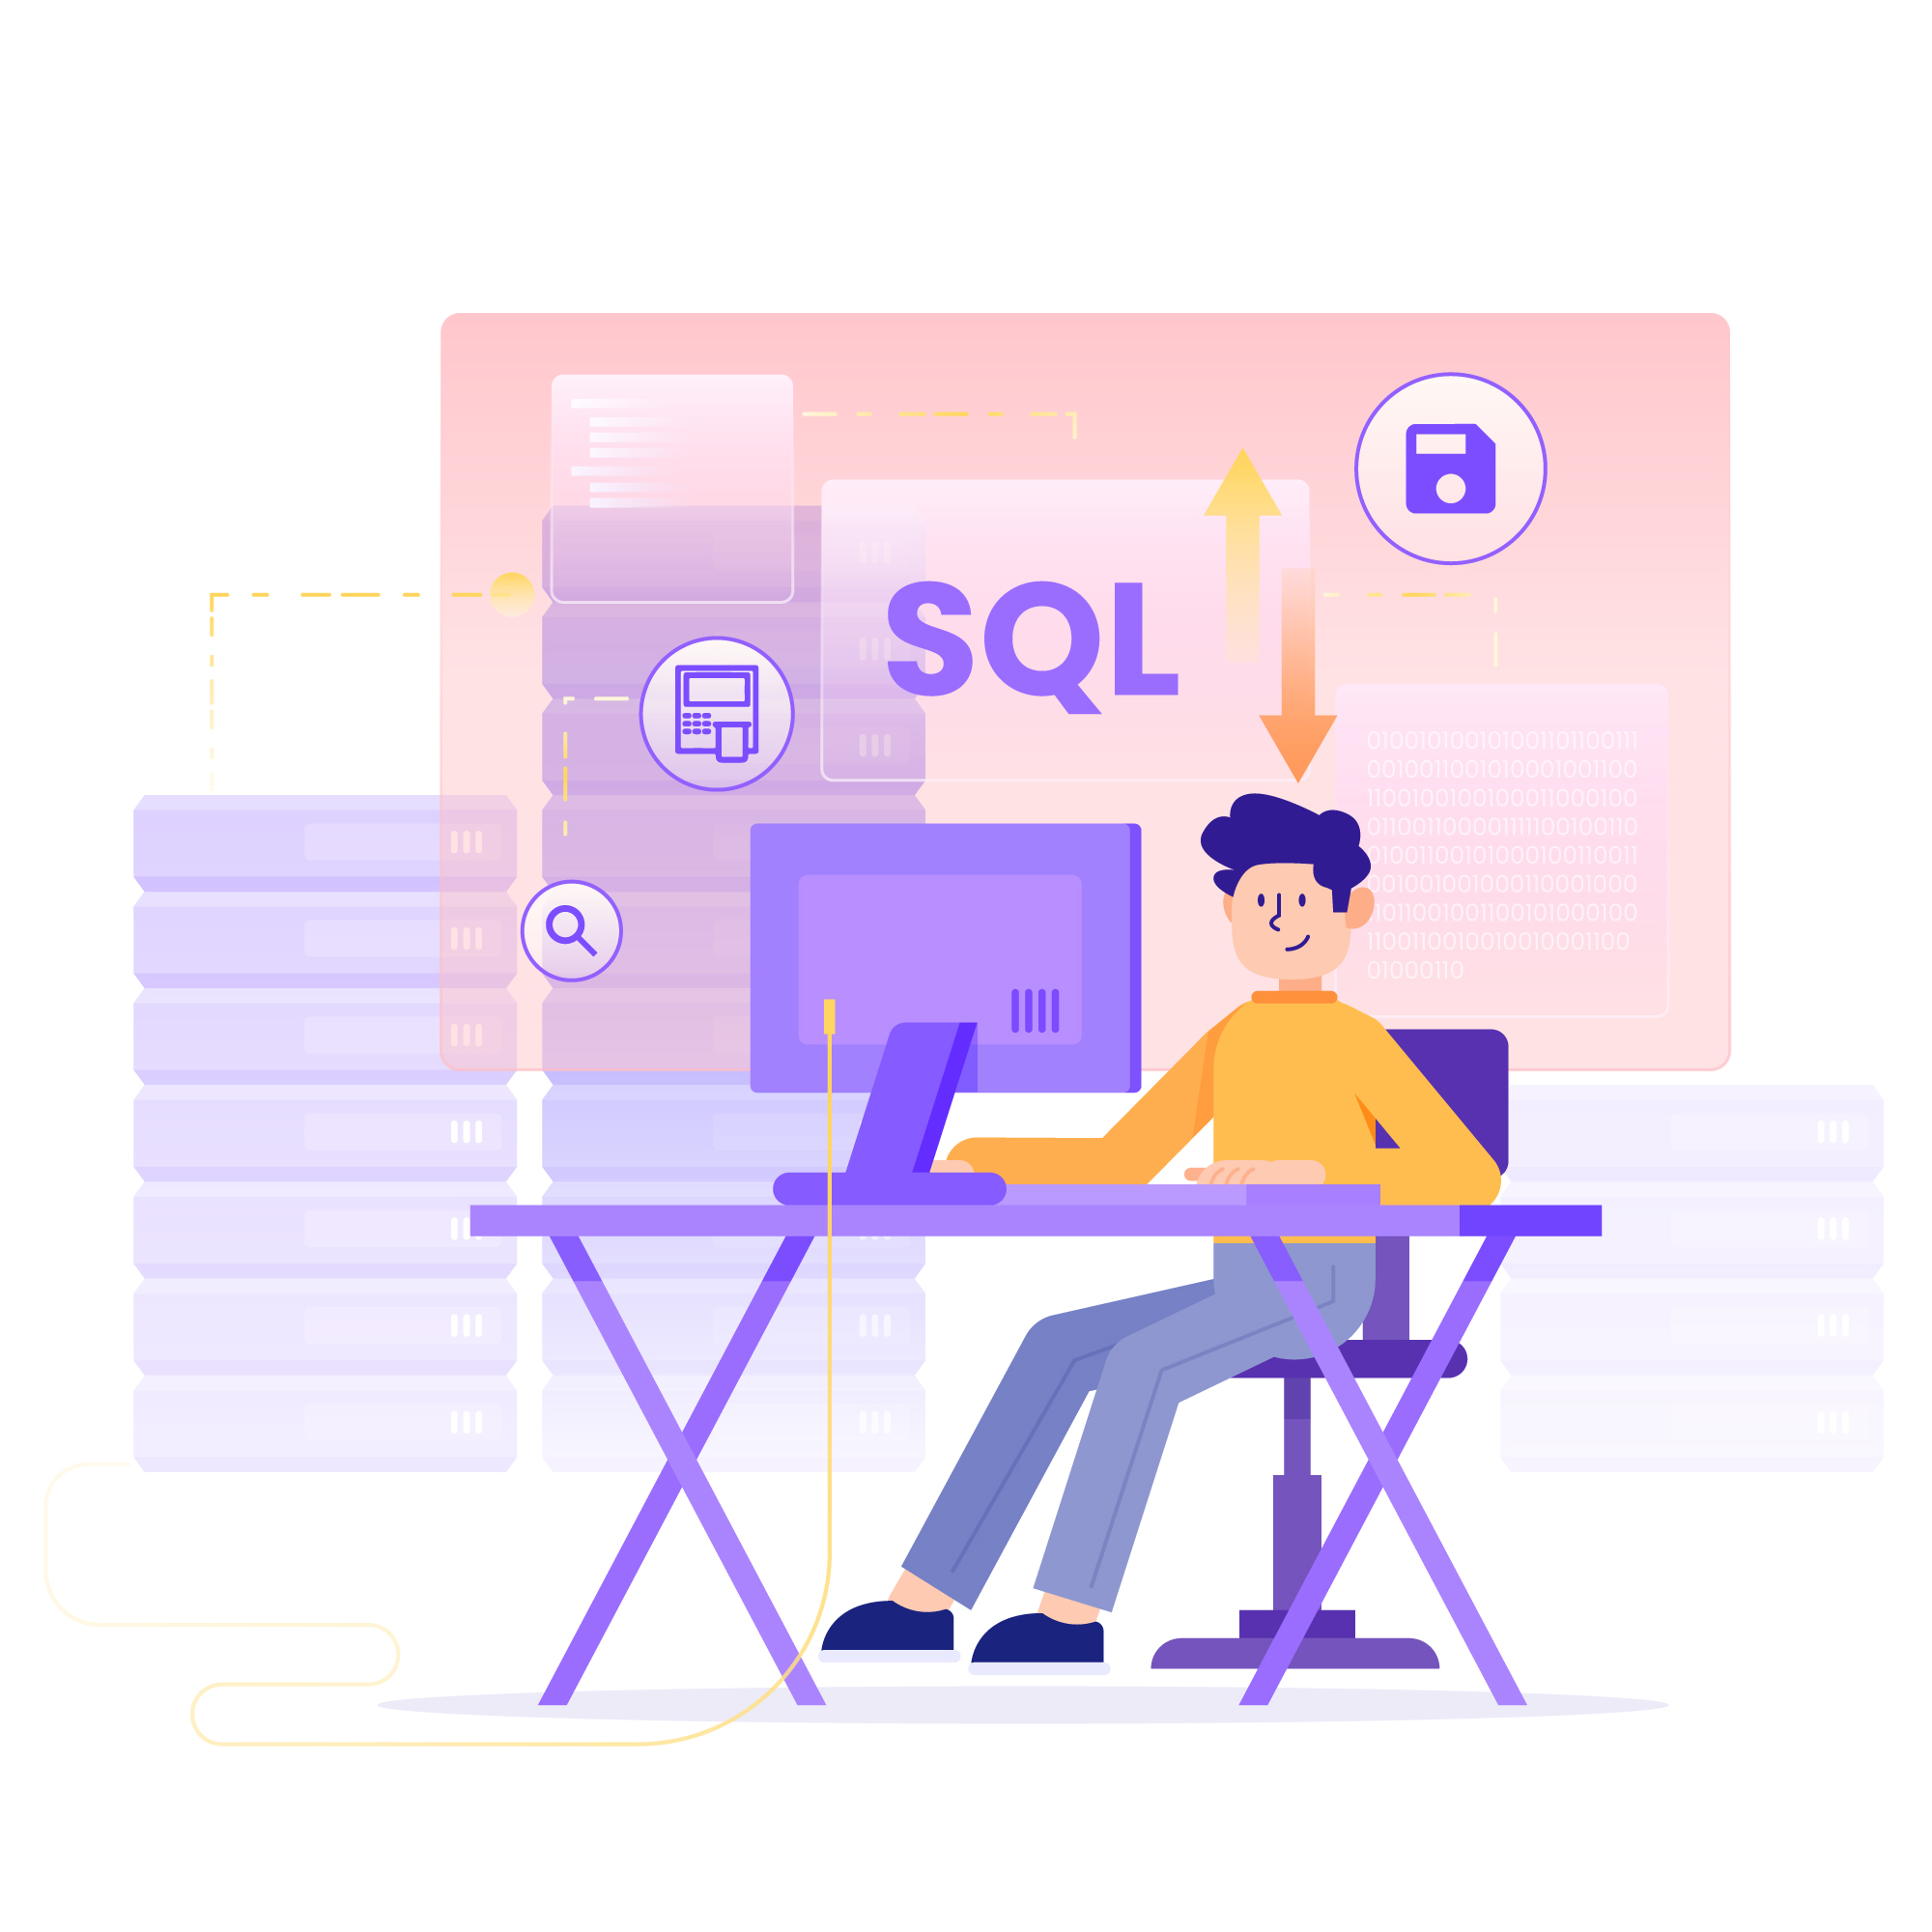
- Understanding Supabase Architecture: Your Open-Source Fortress
- The Docker Advantage on AWS
- Step-by-Step Guide: Deploying Supabase with Docker on AWS
- Beyond the Basics: Optimization, Monitoring, & Maintenance
- Common Pitfalls & How to Avoid Them
- Unlock Your Supabase Potential
Here’s the thing: while managed services offer convenience, there comes a point for many growing applications where true control over your infrastructure becomes non-negotiable. Perhaps it’s data sovereignty requirements, hyper-specific performance tuning, or simply a drive for ultimate cost optimization. Whatever your motive, the path to unlocking this level of command with Supabase often leads to self-hosting.
At maneesh.com.np, we’ve guided numerous tech leaders and startups through complex deployments. We’ve seen firsthand the power of taking ownership of your stack. Today, we’re cutting through the noise to show you exactly how to self-host Supabase using Docker on AWS, transforming it into your own scalable, secure, and entirely custom backend fortress.
Why Self-Host Supabase on AWS?
Let’s be honest, the managed Supabase platform is fantastic. It gets you up and running in minutes. But for those demanding more, self-hosting on AWS using Docker offers distinct advantages:
- Ultimate Control & Customization: You dictate every aspect. From database versions and extensions to network configurations and security policies, your Supabase deployment becomes a bespoke solution tailored precisely to your application’s needs. This is critical for highly regulated industries or unique use cases.
- Cost Optimization at Scale: While there’s an initial setup overhead, in our experience, for applications with significant usage, self-hosting can become far more cost-effective. You’re leveraging AWS’s raw compute and storage pricing directly, without a managed service premium.
- Data Sovereignty & Compliance: Hosting on your own AWS infrastructure means you choose the exact region where your data resides. This is vital for meeting GDPR, HIPAA, or other local data residency and compliance mandates. You maintain complete ownership and responsibility for your data’s lifecycle.
- Performance Tuning: Fine-tune PostgreSQL, optimize networking, and scale individual components independently. You gain the ability to squeeze every ounce of performance out of your backend.
- Deep Integration with AWS Ecosystem: Seamlessly integrate Supabase with other AWS services like S3 for enhanced storage, CloudWatch for monitoring, or IAM for robust access control.
Pro Tip: Self-hosting isn’t for everyone. If your team lacks DevOps experience, or your immediate priority is rapid prototyping and minimal operational overhead, a managed service might still be your best bet initially. Self-hosting is an investment in long-term control and optimization.
Understanding Supabase Architecture: Your Open-Source Fortress
Before we start building, let’s understand the core components that make up your Supabase fortress. Supabase isn’t a single monolithic service; it’s a powerful collection of open-source tools working in harmony, orchestrated by Docker.
- PostgreSQL: The Data Backbone: This is the heart of your Supabase deployment. A robust, feature-rich relational database that stores all your application’s data.
- Supabase Auth: Identity Management: Handles user authentication, registration, password resets, and integrates seamlessly with various providers (email, social logins).
- Realtime: Instant Updates: Built on PostgreSQL’s replication features, this service enables real-time subscriptions to database changes, perfect for live dashboards or chat applications.
- Storage: S3’s Best Friend: Provides an S3-compatible object storage API for managing files, images, and other media directly from your application.
- Edge Functions: Serverless Power: While not strictly part of the Docker deployment for self-hosting (as they typically run on a separate serverless platform like Deno Deploy), understanding their role in the overall Supabase ecosystem is important for extending functionality.
- API Gateway (PostgREST, GoTrue, Storage API): These microservices provide the RESTful and GraphQL APIs that your client-side applications interact with.
The Docker Advantage on AWS
The beauty of Docker lies in its ability to package applications and their dependencies into portable, self-sufficient containers. For a complex, multi-service platform like Supabase, Docker is indispensable.
- Containerization: Consistency Across Environments: Docker ensures that Supabase components run identically on your local machine, staging server, and ultimately, your AWS production environment. No more “it works on my machine” headaches.
- Isolation & Resource Management: Each Supabase service (PostgreSQL, Auth, Realtime, etc.) runs in its own isolated container, preventing conflicts and allowing for independent resource allocation.
- Simplified Deployment & Updates: With Docker Compose, you define your entire Supabase stack in a single YAML file. Deploying, scaling, or updating your services becomes a command-line operation.
- Portability: Move your Supabase fortress with ease. Your Dockerized setup isn’t tied to a specific cloud provider; while we’re focusing on AWS, the principles remain portable.
Orchestration Options: EC2, ECS, EKS
When deploying Docker on AWS, you have choices:
- EC2 (Elastic Compute Cloud): The simplest approach for self-hosting. You provision a virtual machine, install Docker, and run your Docker Compose stack directly. Great for getting started or smaller deployments.
- ECS (Elastic Container Service): AWS’s managed container orchestration service. It handles the heavy lifting of running, stopping, and scaling containers. More complex to set up initially but offers greater scalability and reliability.
- EKS (Elastic Kubernetes Service): A managed Kubernetes service. For enterprise-level deployments, EKS provides unparalleled control, automation, and a vast ecosystem. This is the most complex option.
For this guide, we’ll focus on the EC2 approach, providing a clear path to getting your Supabase instance live.
Step-by-Step Guide: Deploying Supabase with Docker on AWS
Building your Supabase fortress on AWS is a methodical process. Follow these steps carefully.
1. AWS Infrastructure Setup
First, we need a solid foundation within AWS.
- Create a VPC (Virtual Private Cloud): Isolate your Supabase environment from the public internet. Define subnets (public and private).
- Launch an EC2 Instance:Choose an appropriate instance type (e.g.,
t3.mediumort3.largefor a starter, moving to M-series for production).- Select an OS (e.g., Ubuntu Server 22.04 LTS or Amazon Linux 2023).
- Ensure it’s launched in a public subnet with a public IP (or use a private subnet with a NAT Gateway if you prefer).
- Create and assign a key pair for SSH access.
- Configure Security Groups: This is critical for your fortress’s defenses.
- SSH (Port 22): Restrict access to your IP address only.
- Supabase Services (Ports 80/443): Allow HTTP/HTTPS traffic from your application’s IPs or
0.0.0.0/0if publicly exposed. - PostgreSQL (Port 5432): If you plan to connect directly, restrict to trusted IPs. Often, this is only open internally to other Supabase components.
- Prepare for Domain & SSL: Purchase a domain if you don’t have one. You’ll need it for a proper production setup.
2. Preparing Your EC2 Instance
SSH into your EC2 instance and get it ready for Docker.
- Update Packages:
sudo apt update && sudo apt upgrade -y(for Ubuntu) - Install Docker: Follow the official Docker documentation for your specific OS. For Ubuntu:
sudo apt install docker.io -ysudo systemctl start dockersudo systemctl enable dockersudo usermod -aG docker $USER(Log out and back in for changes to take effect.) - Install Docker Compose:
sudo apt install docker-compose -y
(Or install via curl for the latest version if needed: follow Docker’s official guide.)
3. Cloning Supabase & Configuration
Now, we get the Supabase code and prepare its configuration.
- Clone the Supabase Repository:
git clone --depth 1 https://github.com/supabase/supabasecd supabase/docker - Copy Environment Variables:
cp .env.example .env - Edit
.envFile: This is where you configure your Supabase instance.POSTGRES_PASSWORD,JWT_SECRET,anon_key,service_key: CHANGE THESE TO STRONG, UNIQUE VALUES. THIS IS CRUCIAL FOR SECURITY.AWS_S3_BUCKET,AWS_REGION,AWS_ACCESS_KEY_ID,AWS_SECRET_ACCESS_KEY: Configure these if you want to use S3 for storage instead of local storage (highly recommended for production).DISABLE_RESET_PASSWORD=TRUE: Consider setting this for production to prevent abuse unless you have specific email sending configured.SITE_URL: Set this to your domain (e.g.,https://yourdomain.com). This is vital for authentication redirects.
4. Launching Supabase
With configurations in place, it’s time to bring your fortress online!
- Start Docker Compose: From the
supabase/dockerdirectory:docker compose up -d
This command will download all necessary Docker images and start the Supabase services in the background. - Verify Services:
docker ps
You should see containers fordb,realtime,auth,storage,kong(API gateway), and others running.
5. Securing Your Deployment
Your fortress needs proper defenses.
- Configure SSL/TLS: For production, you must use HTTPS.
- Set up a reverse proxy like Nginx or Caddy on your EC2 instance.
- Obtain an SSL certificate (e.g., using Certbot with Let’s Encrypt).
- Configure Nginx/Caddy to proxy traffic to the Supabase Kong API Gateway (usually on port 8000 internally) and handle SSL termination.
- Disable Default Supabase Dashboard: If you don’t need it, consider disabling the self-hosted dashboard for additional security.
- Regular Updates: Keep your OS, Docker, and Supabase components updated.
6. Testing & Validation
Ensure everything is working as expected.
- Access the Studio: Navigate to your domain (e.g.,
https://yourdomain.com). You should see the Supabase Studio dashboard. - Create a Project: Follow the prompts to create your first project.
- Test Auth: Implement a simple login/signup flow in your application to verify authentication is working.
- Test Database & Realtime: Create a table, insert data, and test real-time subscriptions.
- Test Storage: Upload a file via the storage API.
Beyond the Basics: Optimization, Monitoring, & Maintenance
A true fortress isn’t just built; it’s maintained and reinforced.
Scalability Considerations
As your application grows, your Supabase fortress must scale.
- Separate Database: For serious production loads, consider moving PostgreSQL to a managed AWS RDS instance. This offloads database management, backups, and scaling to AWS.
- Load Balancers: Place an AWS Application Load Balancer (ALB) in front of multiple EC2 instances running Supabase services for high availability and traffic distribution.
- Auto-Scaling Groups: Configure AWS Auto Scaling Groups to automatically add or remove EC2 instances based on demand.
- ECS/EKS Migration: For maximum scalability and resilience, consider migrating your Docker Compose setup to AWS ECS or EKS.
Backups & Disaster Recovery
Data loss is not an option. Plan for it.
- PostgreSQL Backups: If using a self-managed PostgreSQL on EC2, implement robust automated backups (e.g., daily
pg_dumpto S3, point-in-time recovery with WAL-G). If using RDS, leverage AWS’s automated snapshots and point-in-time recovery. - Configuration Backups: Keep your
.envand Nginx/Caddy configurations in version control (e.g., Git). - Regular Testing: Periodically test your backup and restore procedures to ensure they work.
Monitoring & Logging
Keep an eye on the health of your fortress.
- AWS CloudWatch: Monitor EC2 instance metrics (CPU, memory, disk I/O, network).
- Docker Logs: Use
docker logs -f [container_name]to inspect container output. Centralize these logs using a service like CloudWatch Logs, Logstash, or Grafana Loki. - Prometheus & Grafana: For advanced monitoring, set up Prometheus to scrape metrics from your containers and visualize them with Grafana.
- Health Checks: Implement health checks for your services to detect and react to failures promptly.
Common Pitfalls & How to Avoid Them
Even the most fortified structures have weaknesses if not properly maintained.
- Security Vulnerabilities:Weak Secrets: Not changing default or example secrets in
.envis a massive security hole. Always use strong, random secrets.Open Ports: Overly permissive security groups expose your services to unnecessary risks. Follow the principle of least privilege.- Outdated Software: Neglecting updates for Docker, Supabase, or your OS can lead to exploitable vulnerabilities.
- Cost Overruns:Over-provisioning: Starting with an unnecessarily large EC2 instance type can quickly inflate costs. Start small and scale up.
- Unmanaged Storage: Not migrating storage to S3 can lead to performance issues and higher costs if running directly on EC2 EBS.
- Configuration Drift: Making manual changes to a running container without updating your
docker-compose.ymlor.envcan lead to inconsistencies. Always manage configurations through files. - Lack of Backups: Believing “it won’t happen to me” is a recipe for disaster. Automate backups rigorously.
Unlock Your Supabase Potential
Self-hosting Supabase on AWS with Docker is a powerful strategy for teams seeking maximum control, scalability, and cost efficiency. It’s a journey that demands attention to detail, but the rewards are substantial: a custom-built, high-performance backend tailored exactly to your needs, operating within your own secure cloud fortress..
Leave a Comment